World Wide App part 1: Internationalization
App Building isn't just writing code. In this, the first of a series of blog posts, I'll highlight some of the tasks that go into building a modern App. I will use my macOS app, Gallery Grabber QED, as an example.
Before an app can be translated into another language, it needs to be preprepared. The act of preparing the app so that it is ready to accept different translations and work in different locations - is known as Internationalization.
This process usually consists of at least two stages:
- Marking all the text in the code that will need translating.
- Removing all assumptions from the visual design that may be true in one language, but not in another.
Marking Text in Code
Throughout the code there will be text that is intended to end up on the display. For example:
"Play 'Morse' sound when a link is added"
All such text needs to be replaced with a special localization function:
NSLocalizedString("Play 'Morse' sound when a link is added", comment: "Used on the General pane in Preferences for the audio checkbox")
This function makes the system aware that the text may be replaced with a translation when the app is active. The comment is there to provide additional context to a potential translator.
Removing Assumptions from the Visual Layout
When you design an app in a language you are familiar with, you can easily make assumptions that would be wrong for another language. For instance, a decision on how much space is needed to display a piece of text may be wildly off the mark when you translate the text into another language.
For example: when you translate the English word "cheeseburger" into Spanish you get "hamburguesa con queso" - so here; one word becomes three, and the length of the text nearly doubles.
The standard way of building interfaces on Apple platforms is to use the visual editor built into Xcode (the Apple development environment). To allow the interface to automatically adjust to different translations you can use a feature called Auto Layout.

This image shows a preference pane from Gallery Grabber QED. The blue lines represent Auto Layout constraints. Each constraint has associated values that tell the app how to adjust the display relative to other components. When done right, these Auto Layout constraints will cause the display to adjust appropriately to the changes caused by a translation.
Getting these constraints right is more of an art than a science. So Apple helps by providing some fake pseudolanguages for testing the constraints. For example:

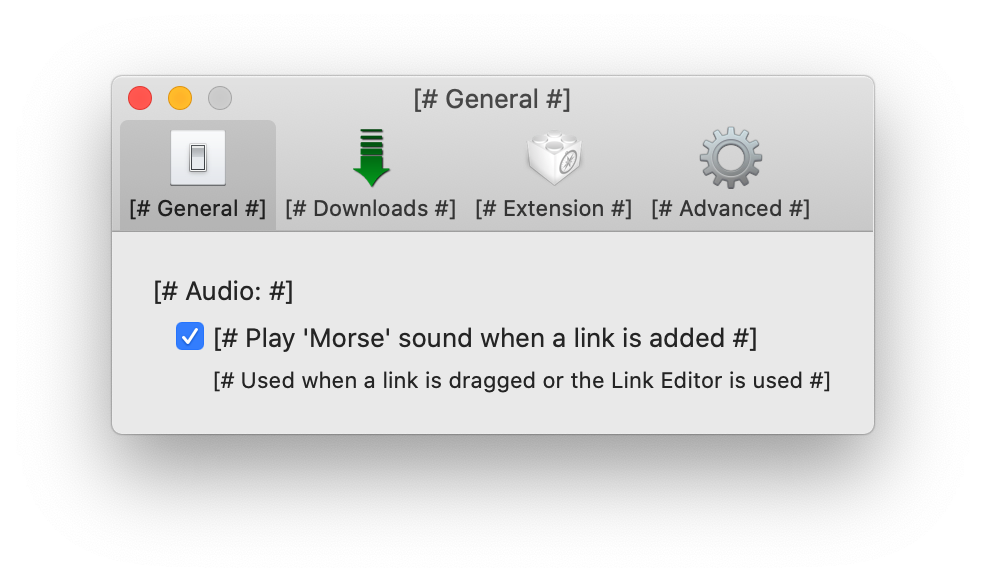
The Bounded String Psudolanguage is used to see if the space allowed for the text is flexible enough to prevent "clipping" when three characters are added to the beginning "[# " and end " #]" of the text.

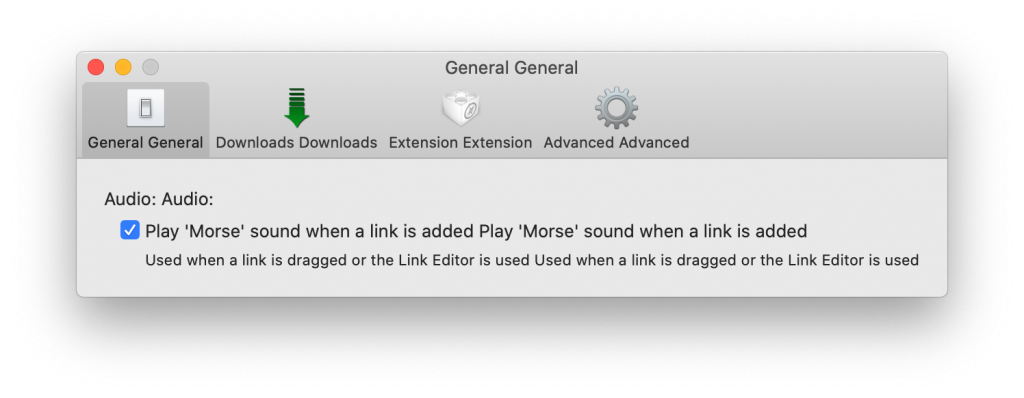
The Double-Length Psudolanguage is used to see if doubling the length of the text causes problems.

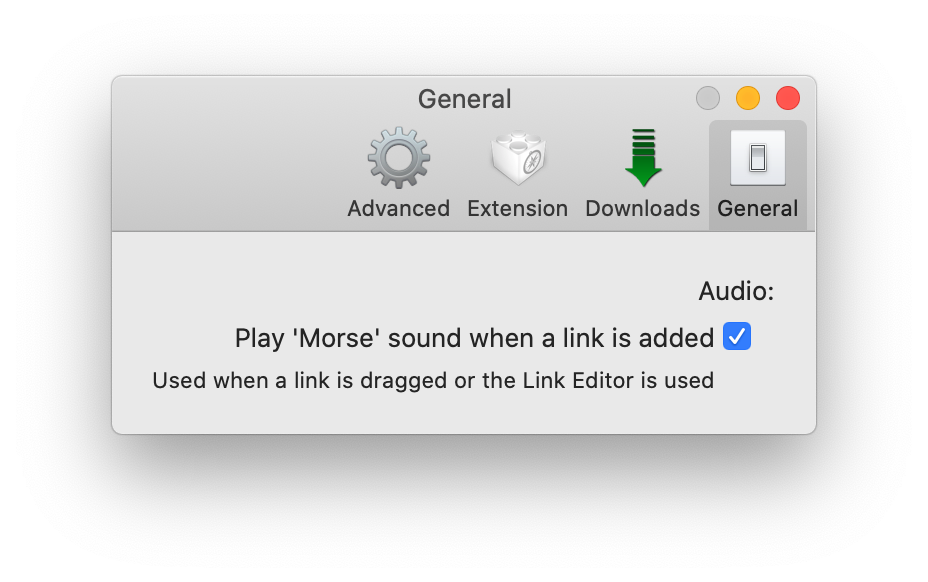
The Right-to-Left Psudolanguage is used to see if the constraints work for right-to-left languages!
Getting the Auto Layout right is a matter of testing and making changes, then repeating that process until everything appears as you expect it too.
Feedback welcome: see contact.